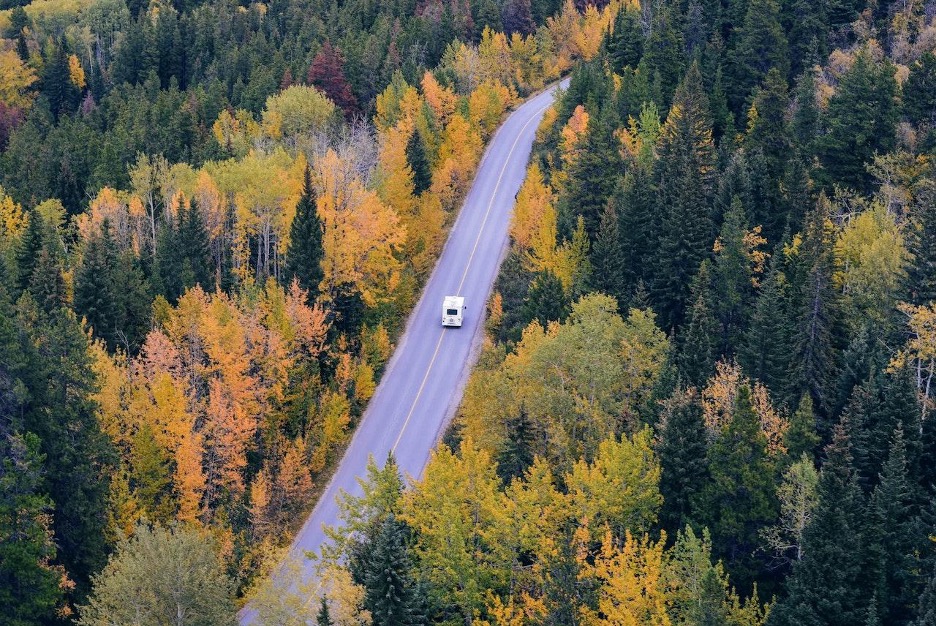
Maintaining your camper’s roof is essential for keeping it in top condition and ensuring that you and your family can enjoy worry-free adventures. With an ever-growing community of DIY enthusiasts, finding the best camper sealant is more important than ever. Liquid rubber technology has emerged as the preferred choice among DIYers, offering a range of benefits that make it the ideal solution for camper roof maintenance. In this article, we’ll dive into the reasons why liquid rubber is the best camper sealant and how it can help protect your investment for years to come.
Liquid Rubber RV Roof Sealant: Environmentally Friendly Protection
Liquid rubber RV roof sealant is an environmentally friendly coating that provides a waterproof membrane, giving your camper’s roof the armor it needs to protect you and your family from leaks and other potential issues. It is available in various sizes and kits, accommodating different camper roof sizes and ensuring that you have everything you need for a successful application.
Popular Uses for Liquid Rubber RV Roof Sealant
Liquid rubber RV roof sealant is versatile and can be used for a variety of applications, including:
- RV Roofs
- Mobile Homes
- Campers
- Trailers
- Metal Roofs
- Sheds
- Gutters
- Walls
- Ceilings
Coverage and Application
To ensure proper coverage and protection, apply a minimum final thickness of 1 gallon per 50 sq ft (4.65 sq/m), which should require around 2-3 heavy coats to achieve the desired membrane.
Identifying Your Camper’s Roof Material
Before applying the best camper sealant, it’s essential to identify your camper’s roof material. Common materials include fiberglass, wood, metal, TPO, EPDM, and PVC. Each material may require a specific primer or preparation before the application of liquid rubber RV roof sealant. Check with your camper’s manufacturer to verify the material and ensure the correct application process.
Inspecting and Preparing Your Camper’s Roof
Another thing to note before you apply liquid rubber, is that it’s crucial to inspect your camper’s roof for any signs of damage or potential issues. Look for shrinkage in caulking or seams, physical damage such as tears or holes, and water damage on the interior. Regular inspections can help catch small problems before they become significant issues, saving you time and money on repairs.
Cleaning the Surface
Proper surface preparation is critical for ensuring that the liquid rubber RV roof sealant adheres correctly and provides the maximum level of protection. Use an RV Smart Cleaner to remove surface impurities and rinse the surface thoroughly with a high-pressure spray nozzle or power washer. For EPDM or PVC membranes, wipe down the surface with a clean white rag dampened with acetone to condition the surface to receive the primer.
Detail Work and Seam Tape Application
Detail areas, such as vents and skylights, require extra attention during the application process. Pre-cut liquid rubber seam tape to the desired length and apply it to all seams at the perimeter and protrusions. Be sure to use plenty of pressure to activate the adhesive, ensuring no wrinkles or fish-mouths. Overlap separate pieces of seam tape by at least 1 inch.
Applying Liquid Rubber RV Roof Sealant
Once the surface is clean and prepared, it’s time to apply the liquid rubber RV roof sealant. Work in manageable sections, applying the appropriate primer for your roof material and allowing it to dry for 1-2 hours. Then, apply the liquid rubber RV roof sealant using a brush or roller, ensuring even coverage and thickness. Allow the sealant to dry for approximately 6-8 hours (or until dry to the touch) between coats.
Inspecting and Protecting Your Camper’s Roof
After applying the liquid rubber RV roof sealant, inspect the roof for pinholes, blisters, voids, or thin spots. Repair any defects as necessary, ensuring a defect-free and monolithic coat. Allow the coating to dry for 48-72 hours before use, keeping in mind that low temperatures and high humidity can extend cure times.
The Growing Popularity of Liquid Rubber Technology
As more DIYers discover the benefits of liquid rubber technology, it’s no surprise that it has become the go-to solution for camper roof maintenance. According to one statistic, liquid rubber products have seen a significant increase in popularity in recent years. What’s more, liquid rubber technology offers unparalleled durability, with some coatings lasting up to 20 years or more.
Why Liquid Rubber is the Best Camper Sealant
There are several reasons why liquid rubber is considered the best camper sealant:
- Environmentally friendly: Liquid rubber is an eco-friendly option that doesn’t harm the environment.
- Versatile: It can be used on a variety of surfaces and materials, making it suitable for various camper roof types.
- Durable: Liquid rubber provides a long-lasting, waterproof protective barrier that can last for decades.
- Easy to apply: Liquid rubber can be applied by DIYers with minimal experience, making it an accessible option for camper owners.
- Cost-effective: Liquid rubber is an affordable solution for camper roof maintenance, saving you money on costly repairs and replacements.
Wrapping things up: liquid rubber technology is one of the best modern-day options for camper roof maintenance, offering a range of benefits that make it the ideal choice for DIY enthusiasts. By using liquid rubber as your camper sealant, you can protect your investment and ensure your camper remains in top condition for years to come. So, don’t wait – give your camper the protection it deserves and enjoy more time on the open road.


